
In layman’s term, Hotspot is a Wi-Fi network created from a device other than a router. In our case, it will be created from a Windows device connected to the internet using broadband or a dongle connection. Hotspot can be used to share the internet of our Windows device to our smartphones or other devices by creating a Wi-Fi network.
Hotspots can be created from devices even without any internet access, but that would create a local network with no internet. Such a network can be used to create an FTP server or to transfer files locally between 2 devices connected to the same network.
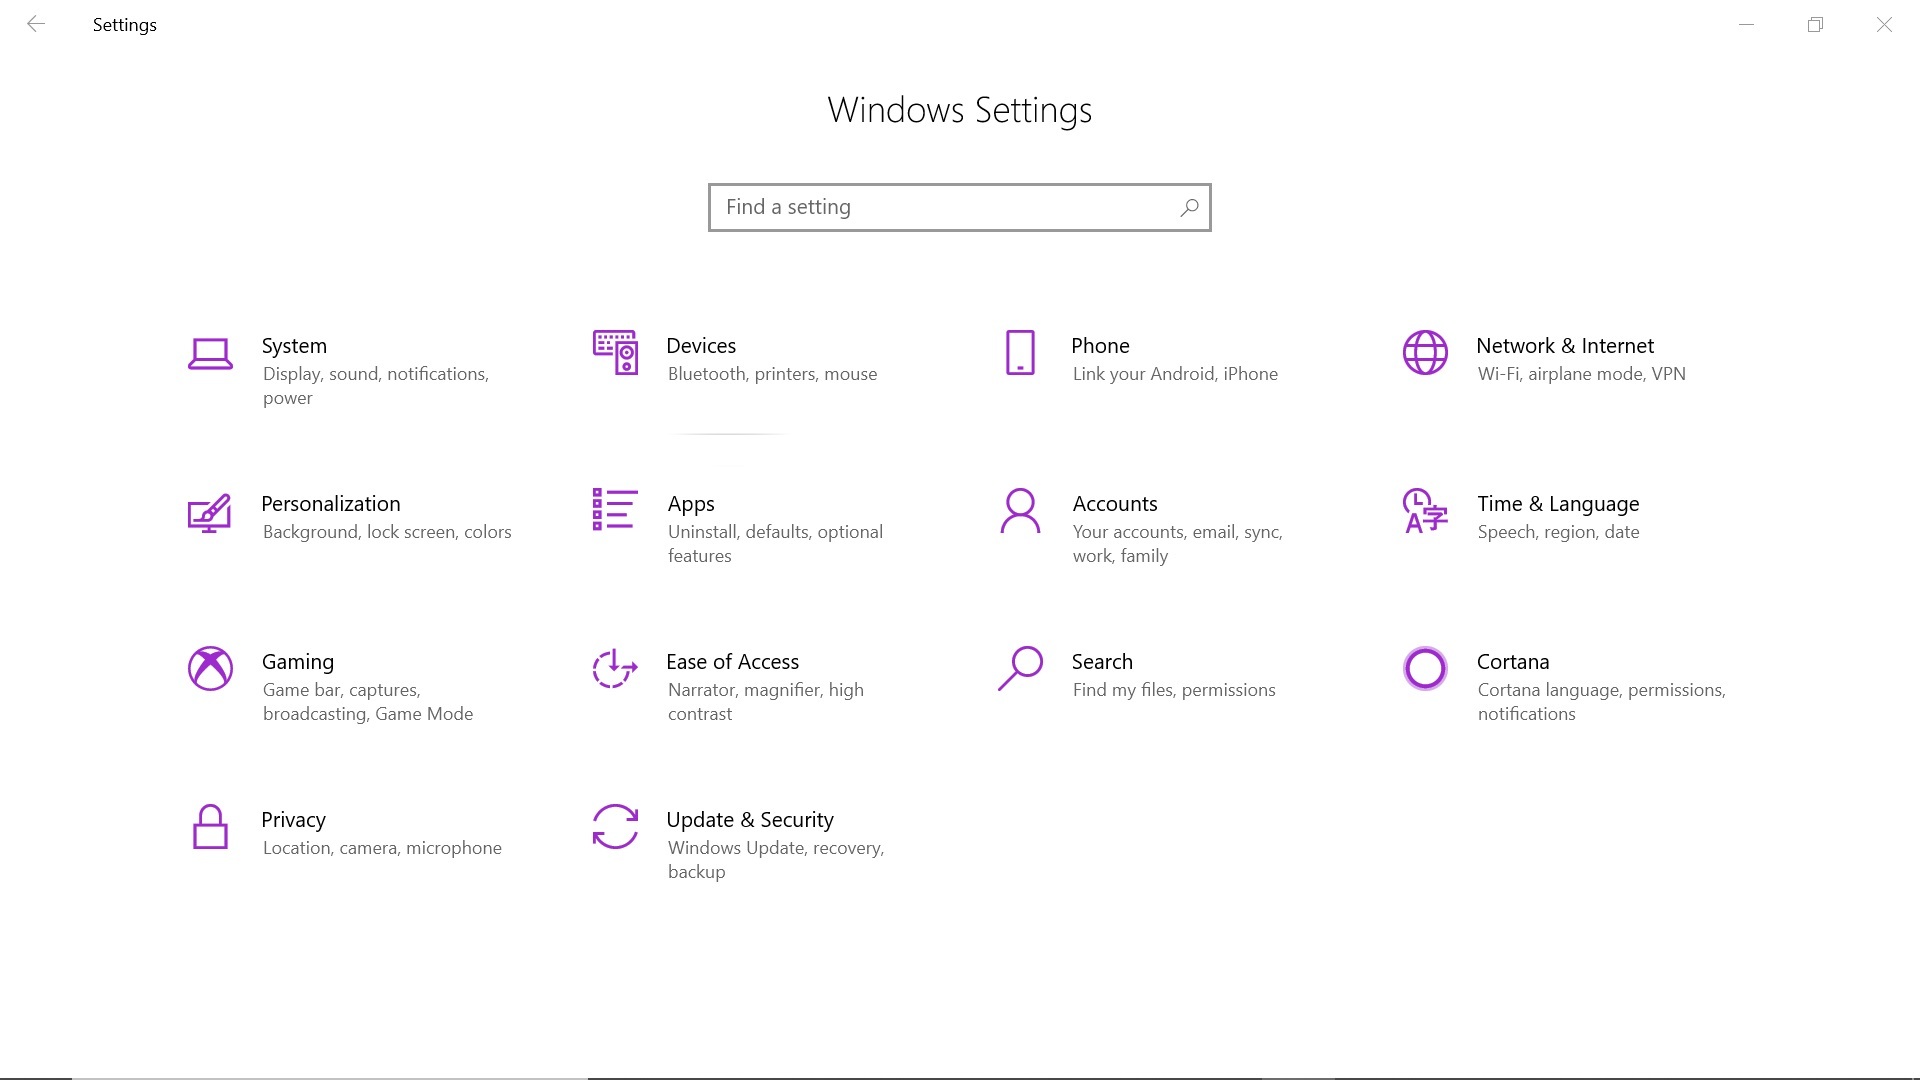
Creating a Hotspot in Windows 11 Using Settings
Step 1: Goto settings app in Windows or use the combination of Window Key + i.
Step 2: Now click on Network & Internet
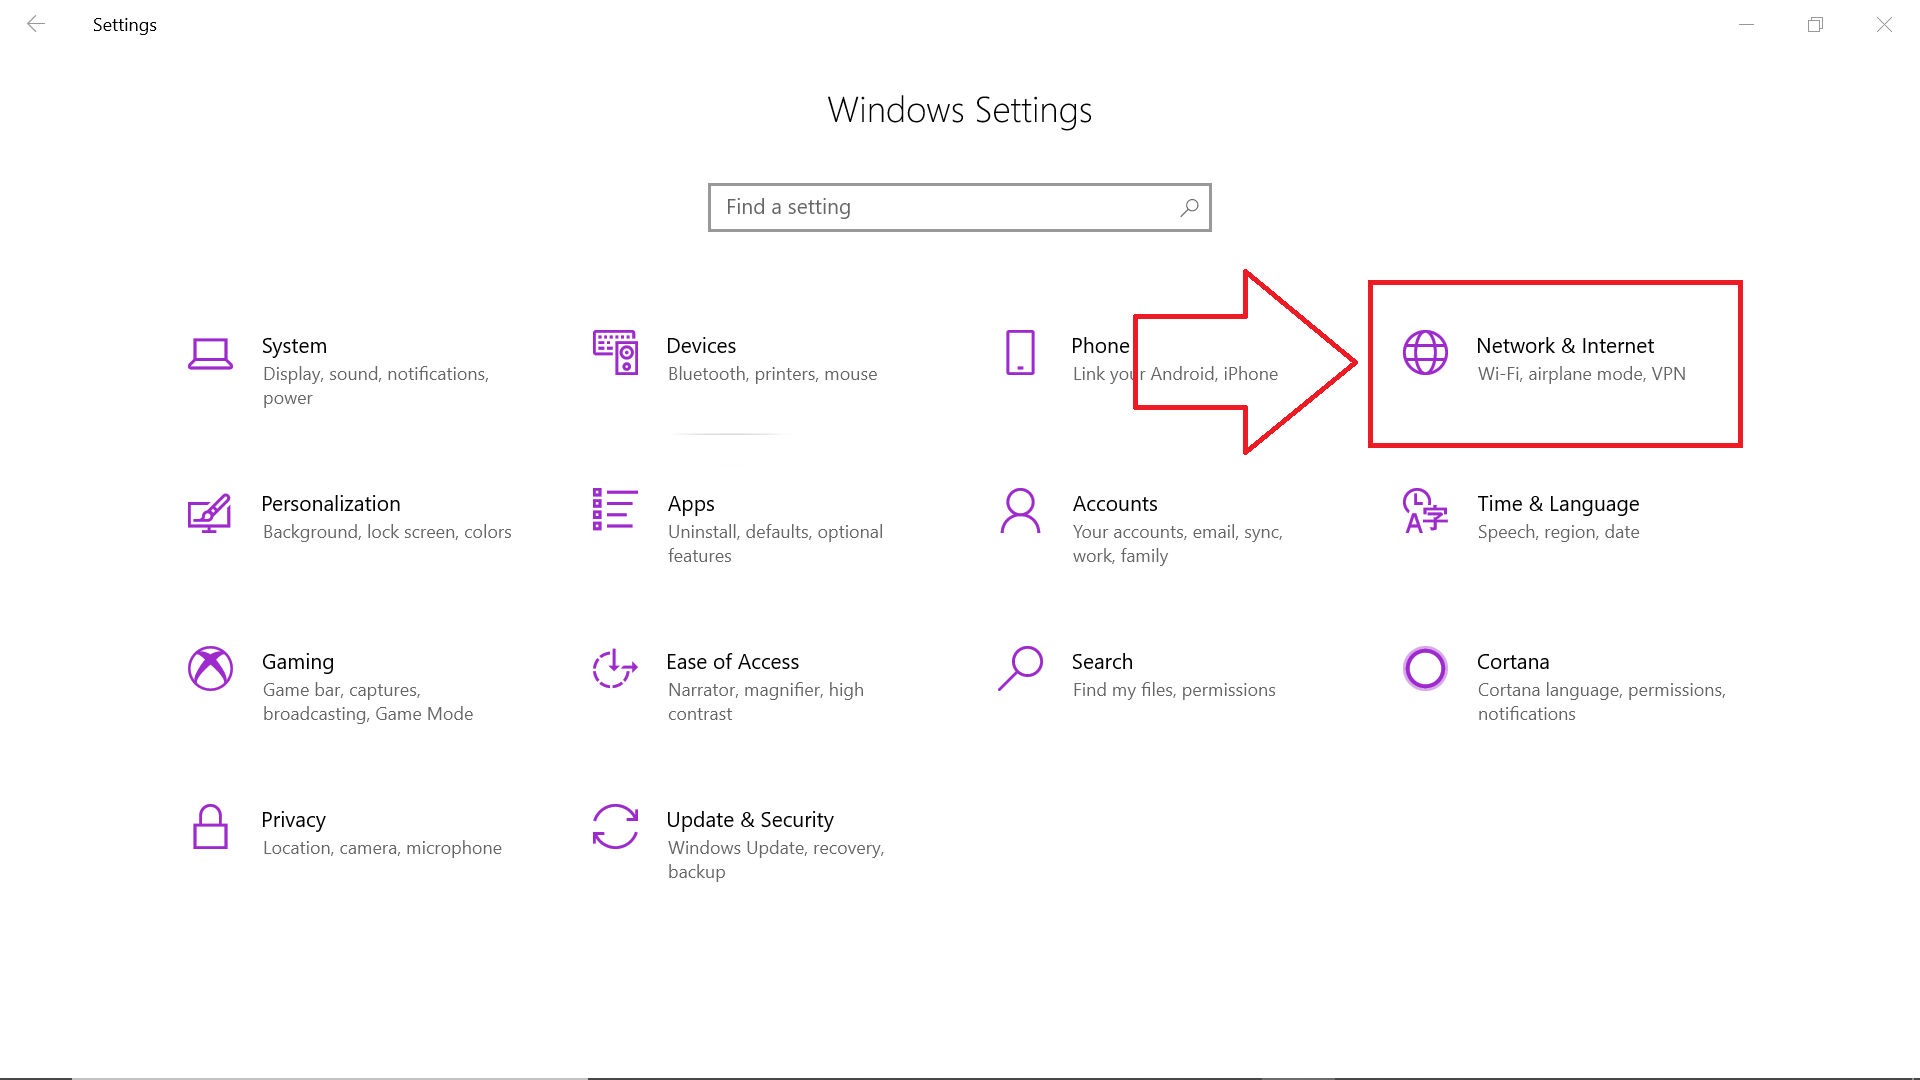
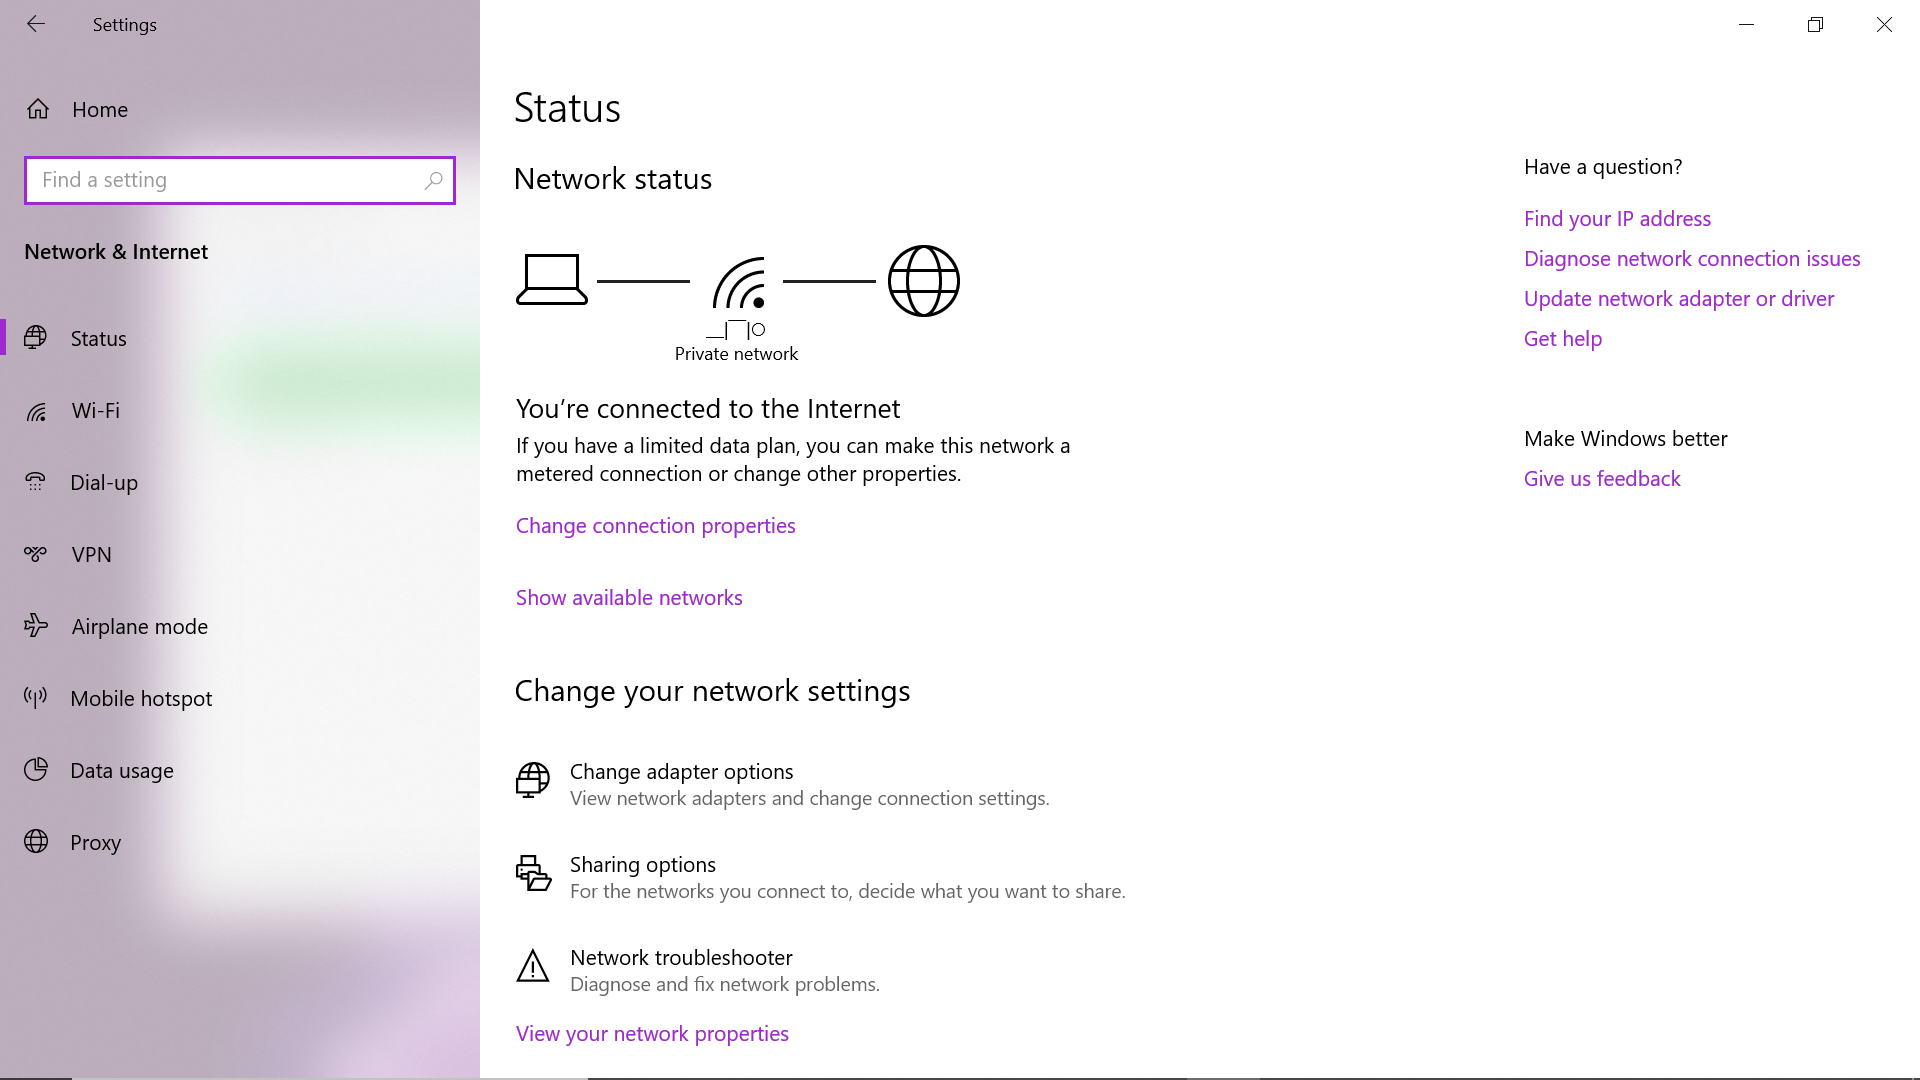
After clicking, you should see something similar to the following:
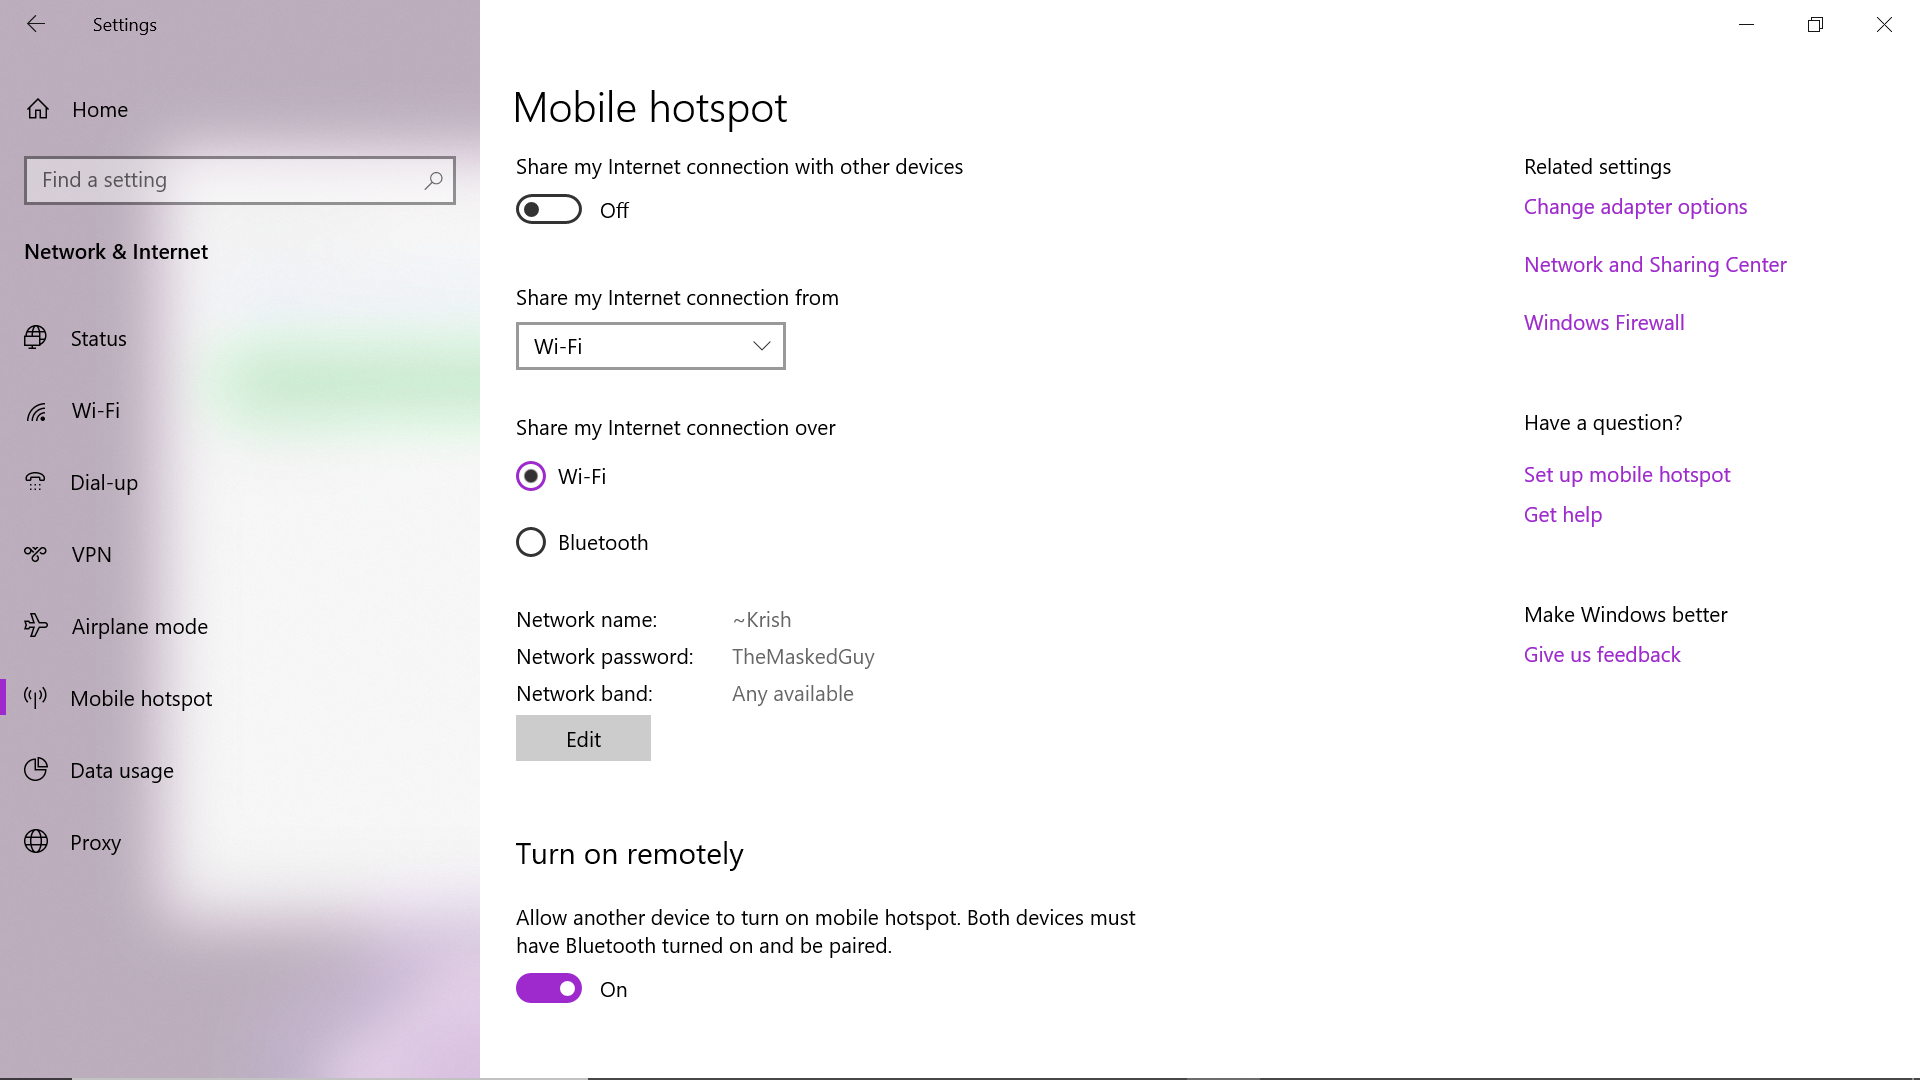
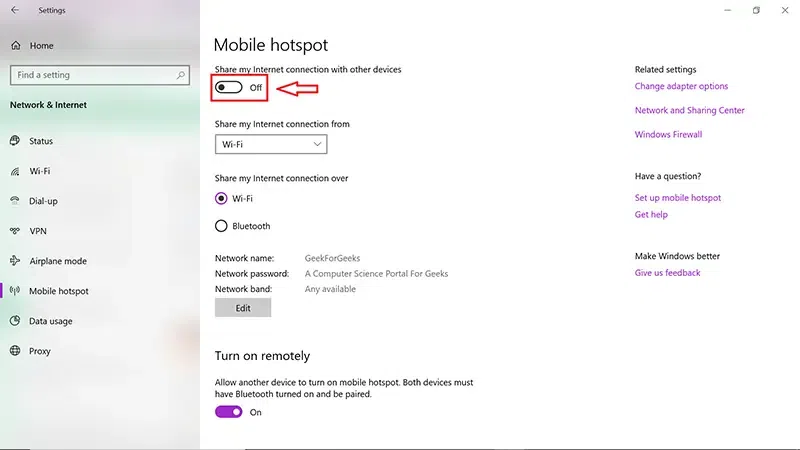
Step 3: Click on Mobile Hotspot
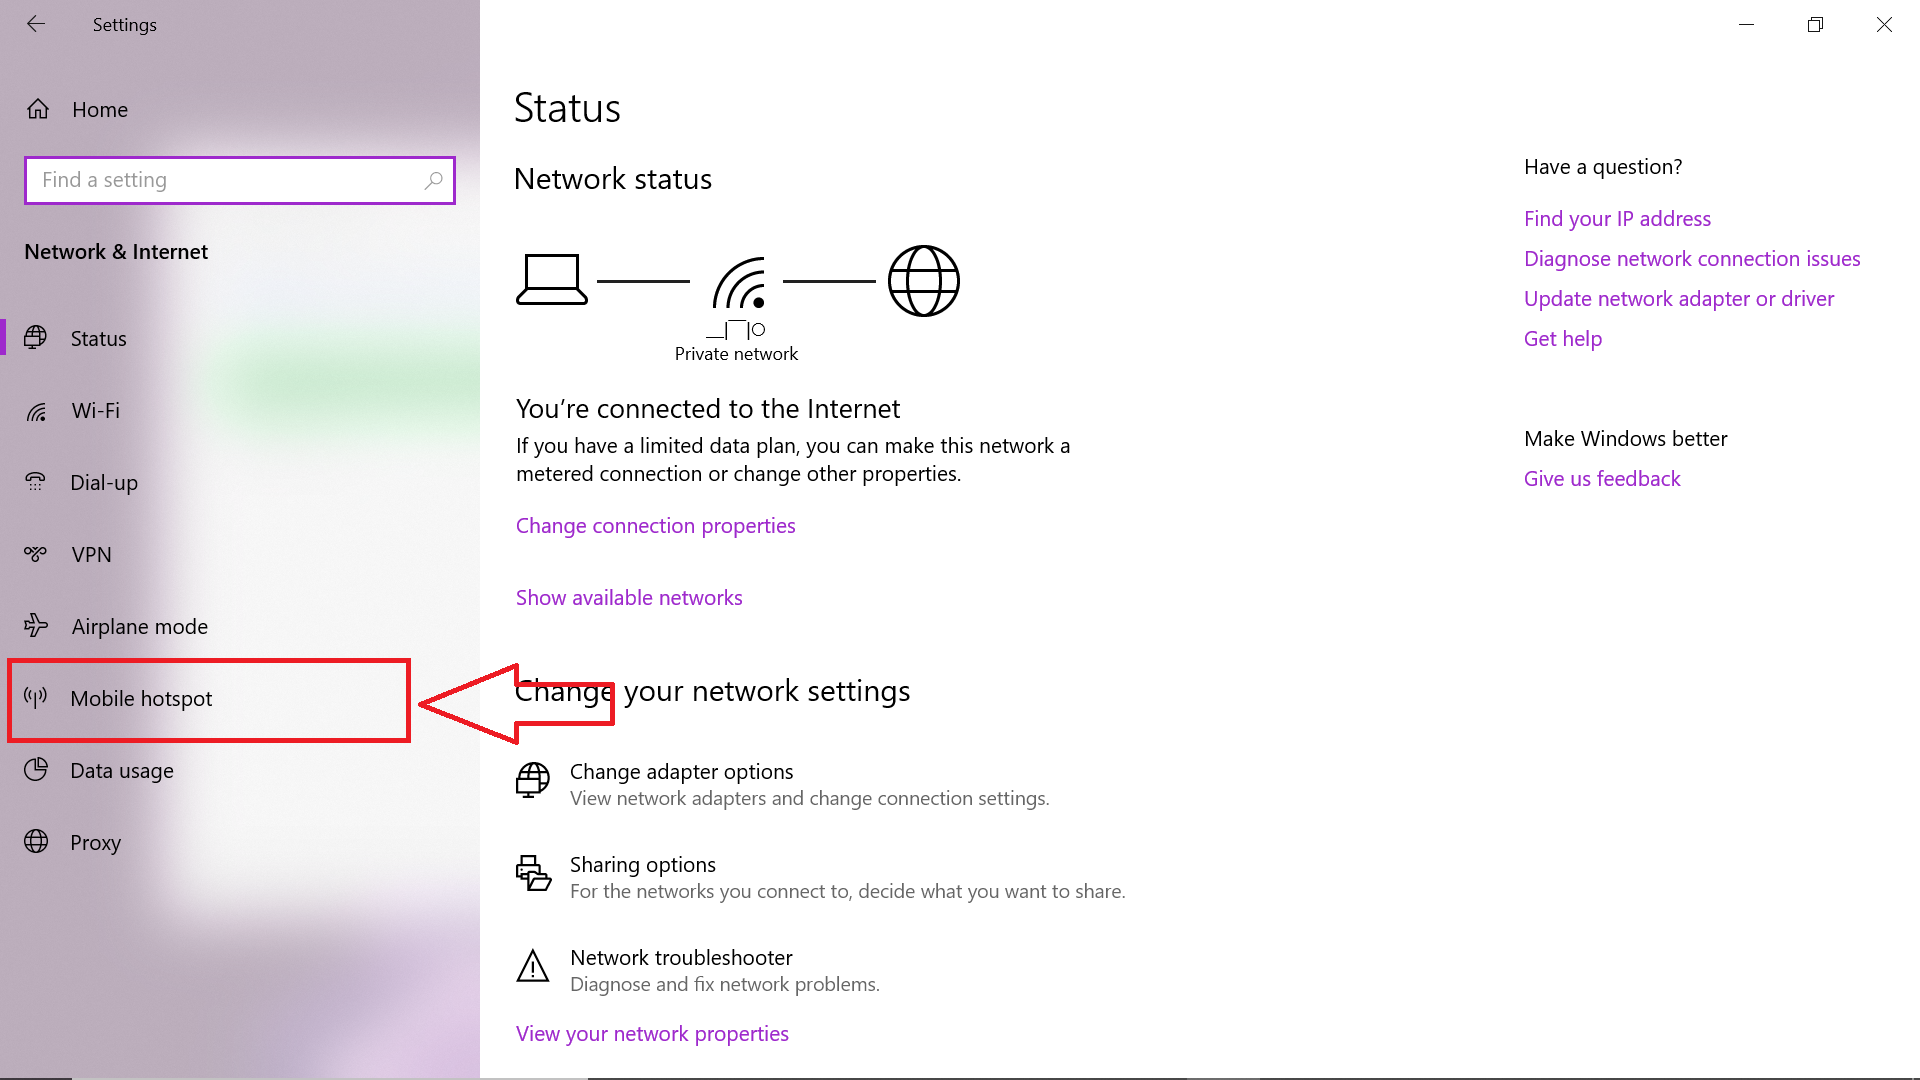
Now you should see something like:
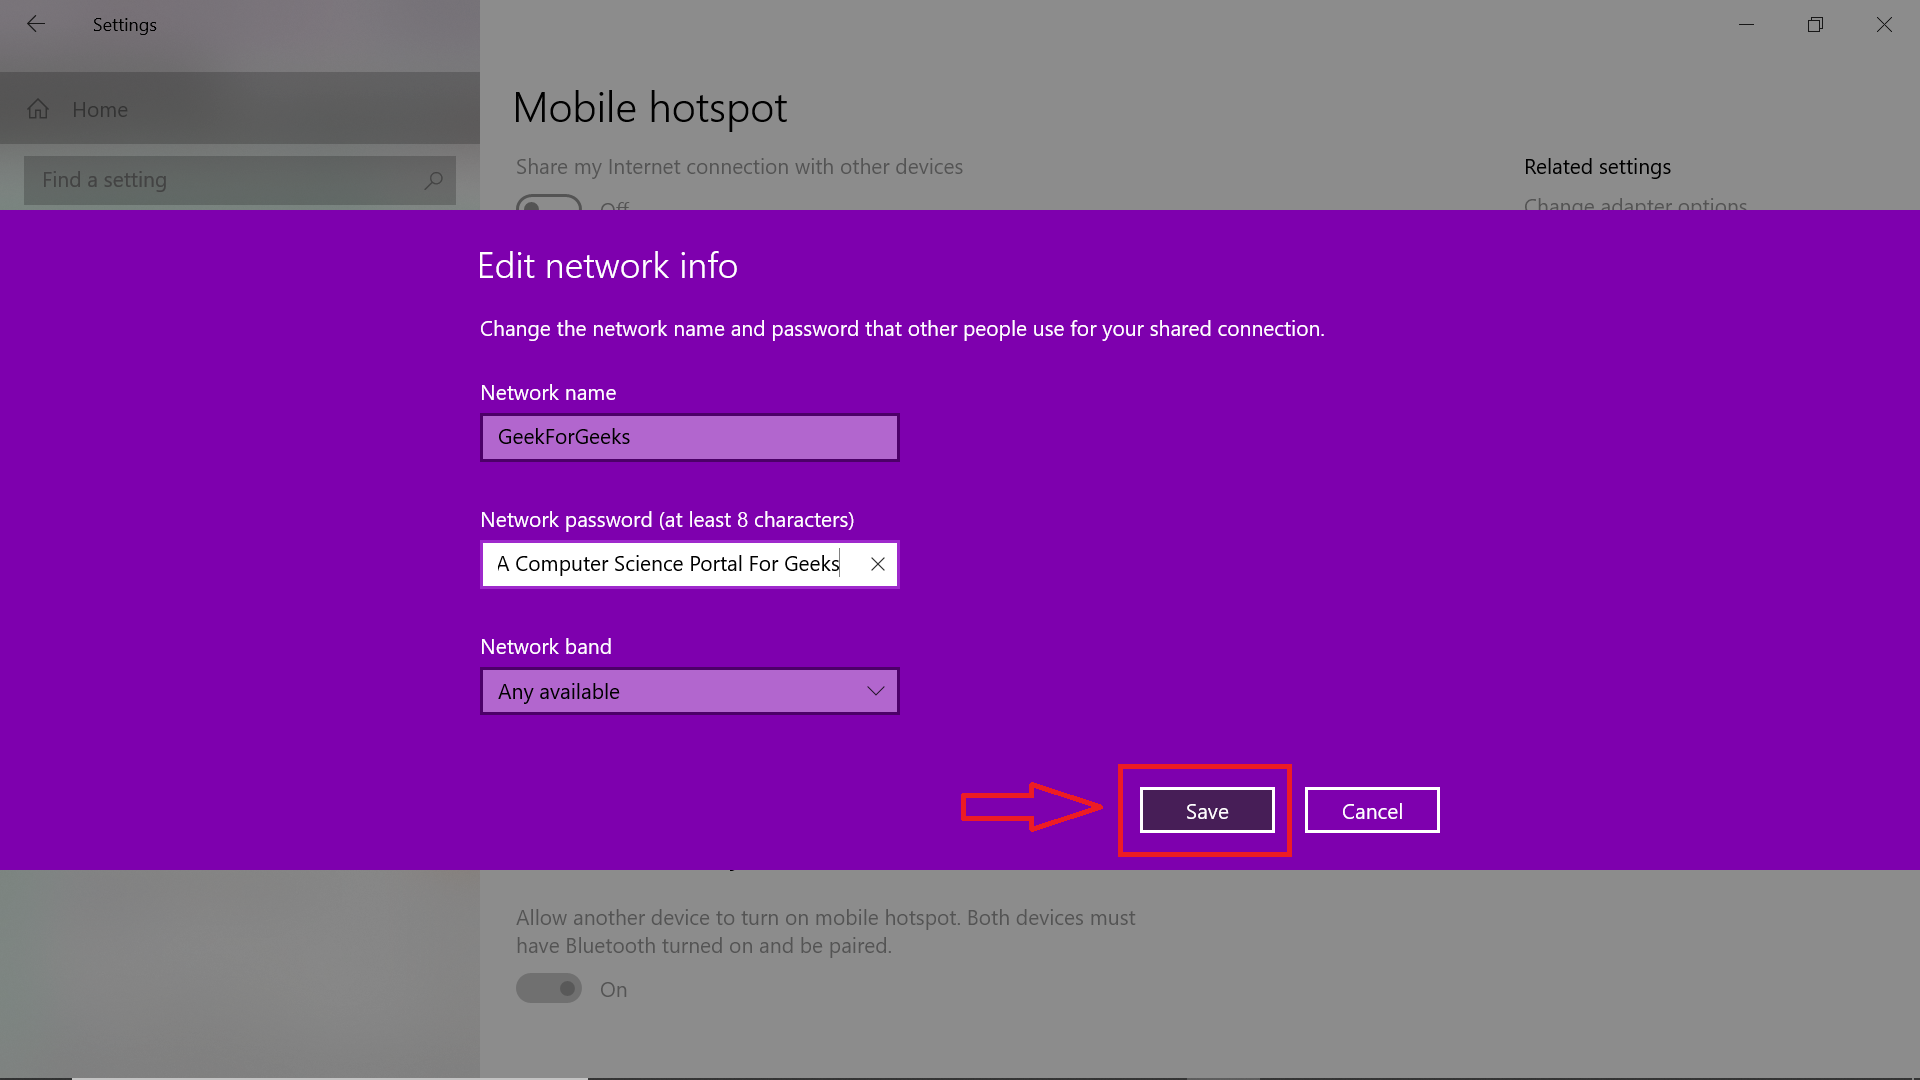
Step 4: Configure the Wi-Fi Hotspot’s Name (ssid) and Password by clicking Edit.
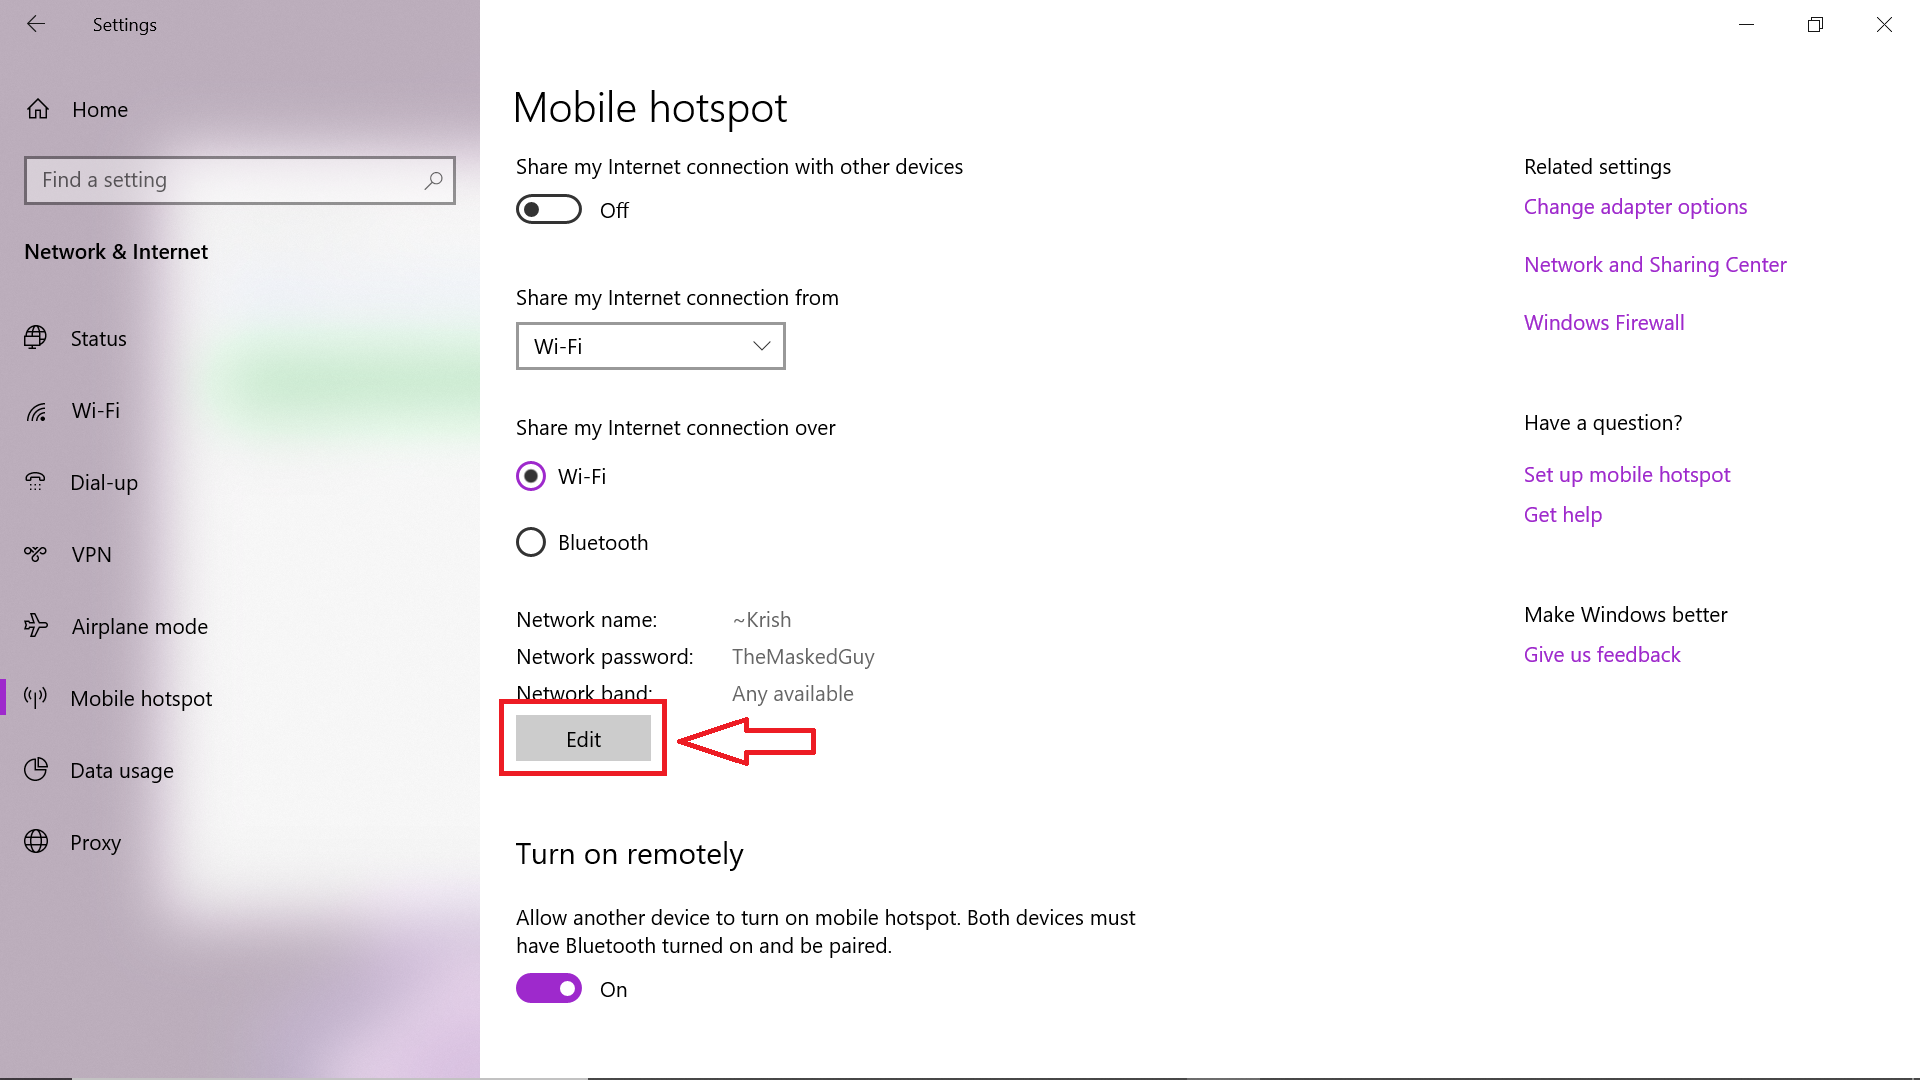
After clicking you can see the following:
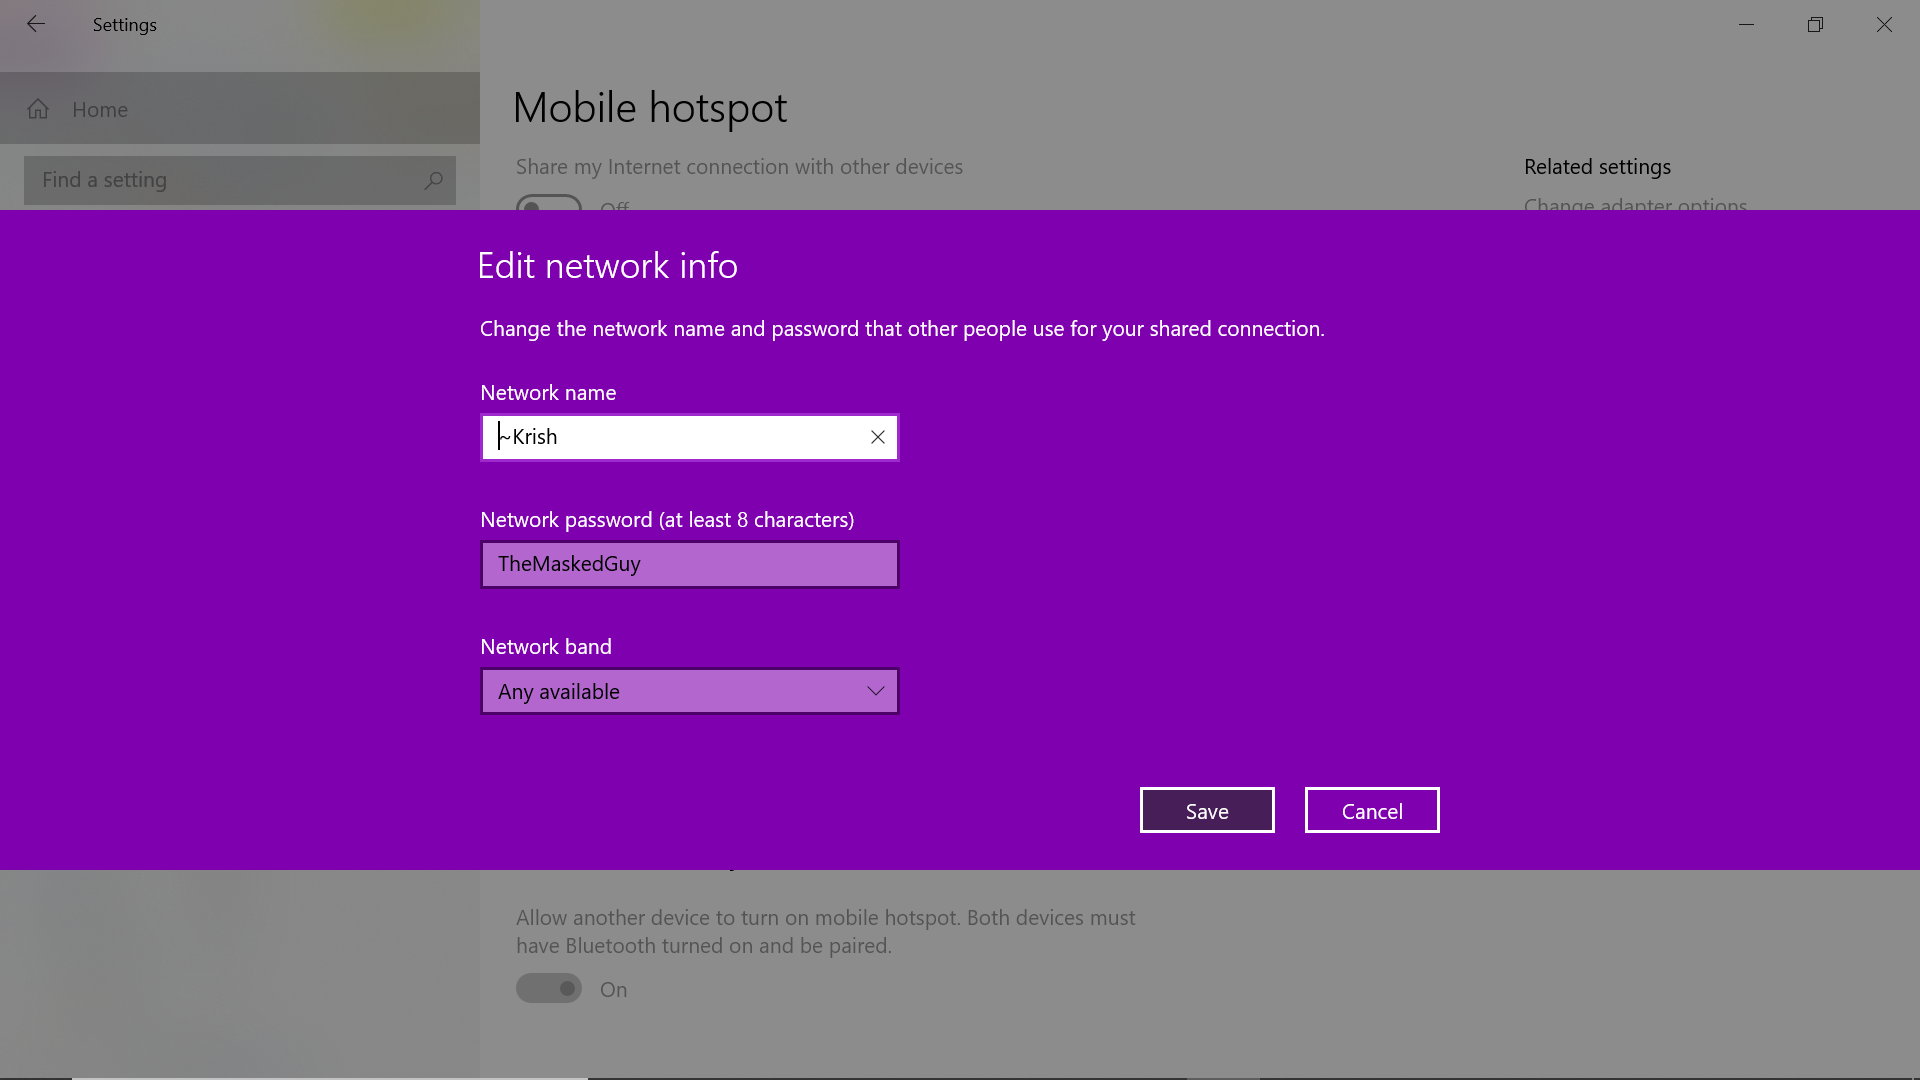
Now edit/configure your Hotspot according to your choice as shown in below image:
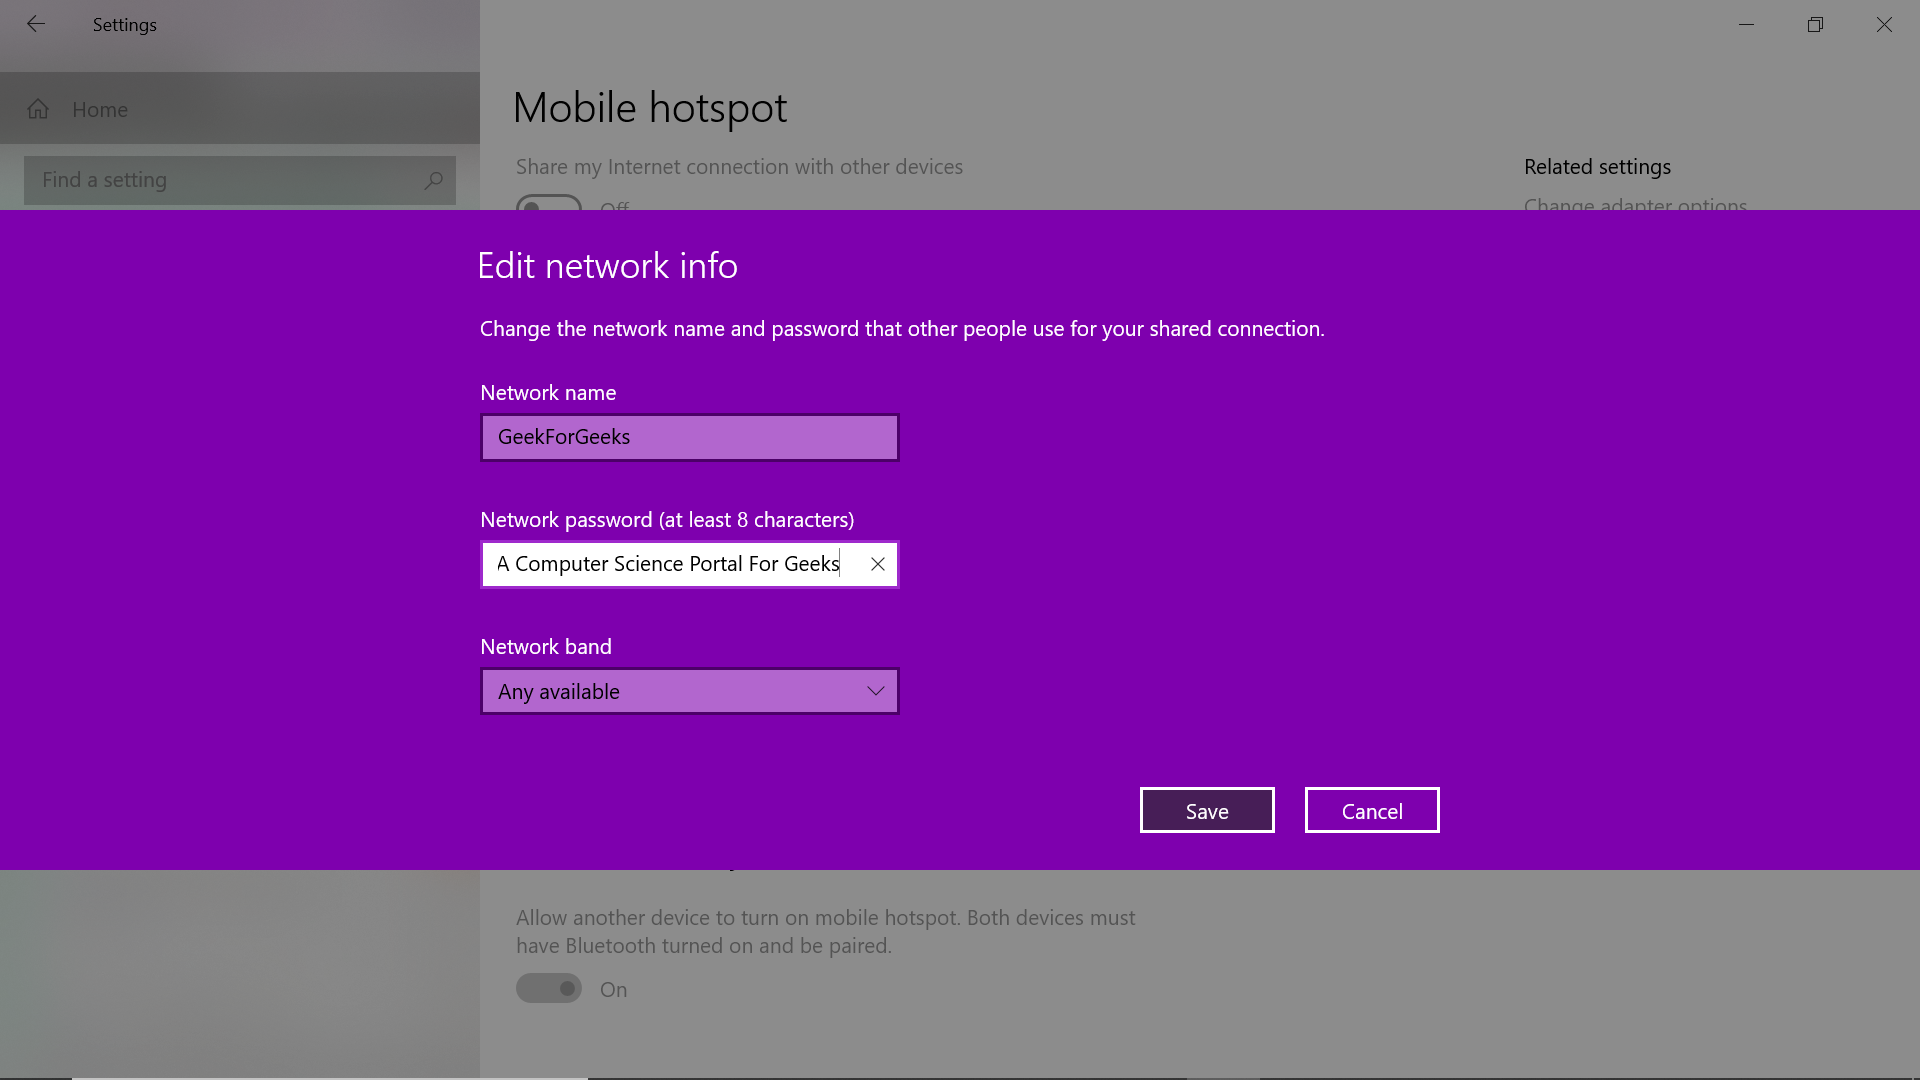
Step 5: Now click on Save
Step 6: Now switch the Share my internet connection with other devices option to ON.
Thus, we have successfully created a Wi-Fi hotspot from a Windows Device from the Windows Settings App.


Leave a comment